December 8, 2014

Cauliflower Rice Burrito Bowl

Who doesn't love a good burrito bowl? Now normally these things are filled with rice, cheese, and sour cream. Not my version! The rice is actually replaced by cauliflower, and it's topped with a bunch of fresh veggies and some black beans, yum! 


Here's what you'll need:
  • 2 Medium Cauliflower $6.98
  • 1 Lime $0.25
  • 1 Bunch Cilantro $0.50
  • 1 Onion $1.11
  • 2 Green Peppers $2.00
  • 3 Tomatoes $1.89
  • 2 Avocado $2.50
  • 2 cups Black Beans $1.12

Serving Size: 1 Burrito Bowl
Total Servings: 6
Price Per Serving: $2.72
Nutrition (per serving):
      Calories: 240
      Carbs:  35g
      Fat:  9g
      Protein:  11g

**Forgot to include the can of black beans in the picture, oops!


First get your cauliflower ready. Start by cutting off the green leaves and stem so its easy to get to the cauliflower. Then cut all of the cauliflower off of the stem. It doesn't really matter how you do this because its all going in a blender in the end. 


Then, in small batches, add your cauliflower to a blender or food processor, and pulse a few times until it looks like small grains of rice. Careful not to over blend it, you don't want cauliflower mush! 2 cauliflower took me about 6 batches to get it all done, you don't want to overcrowd the blender.


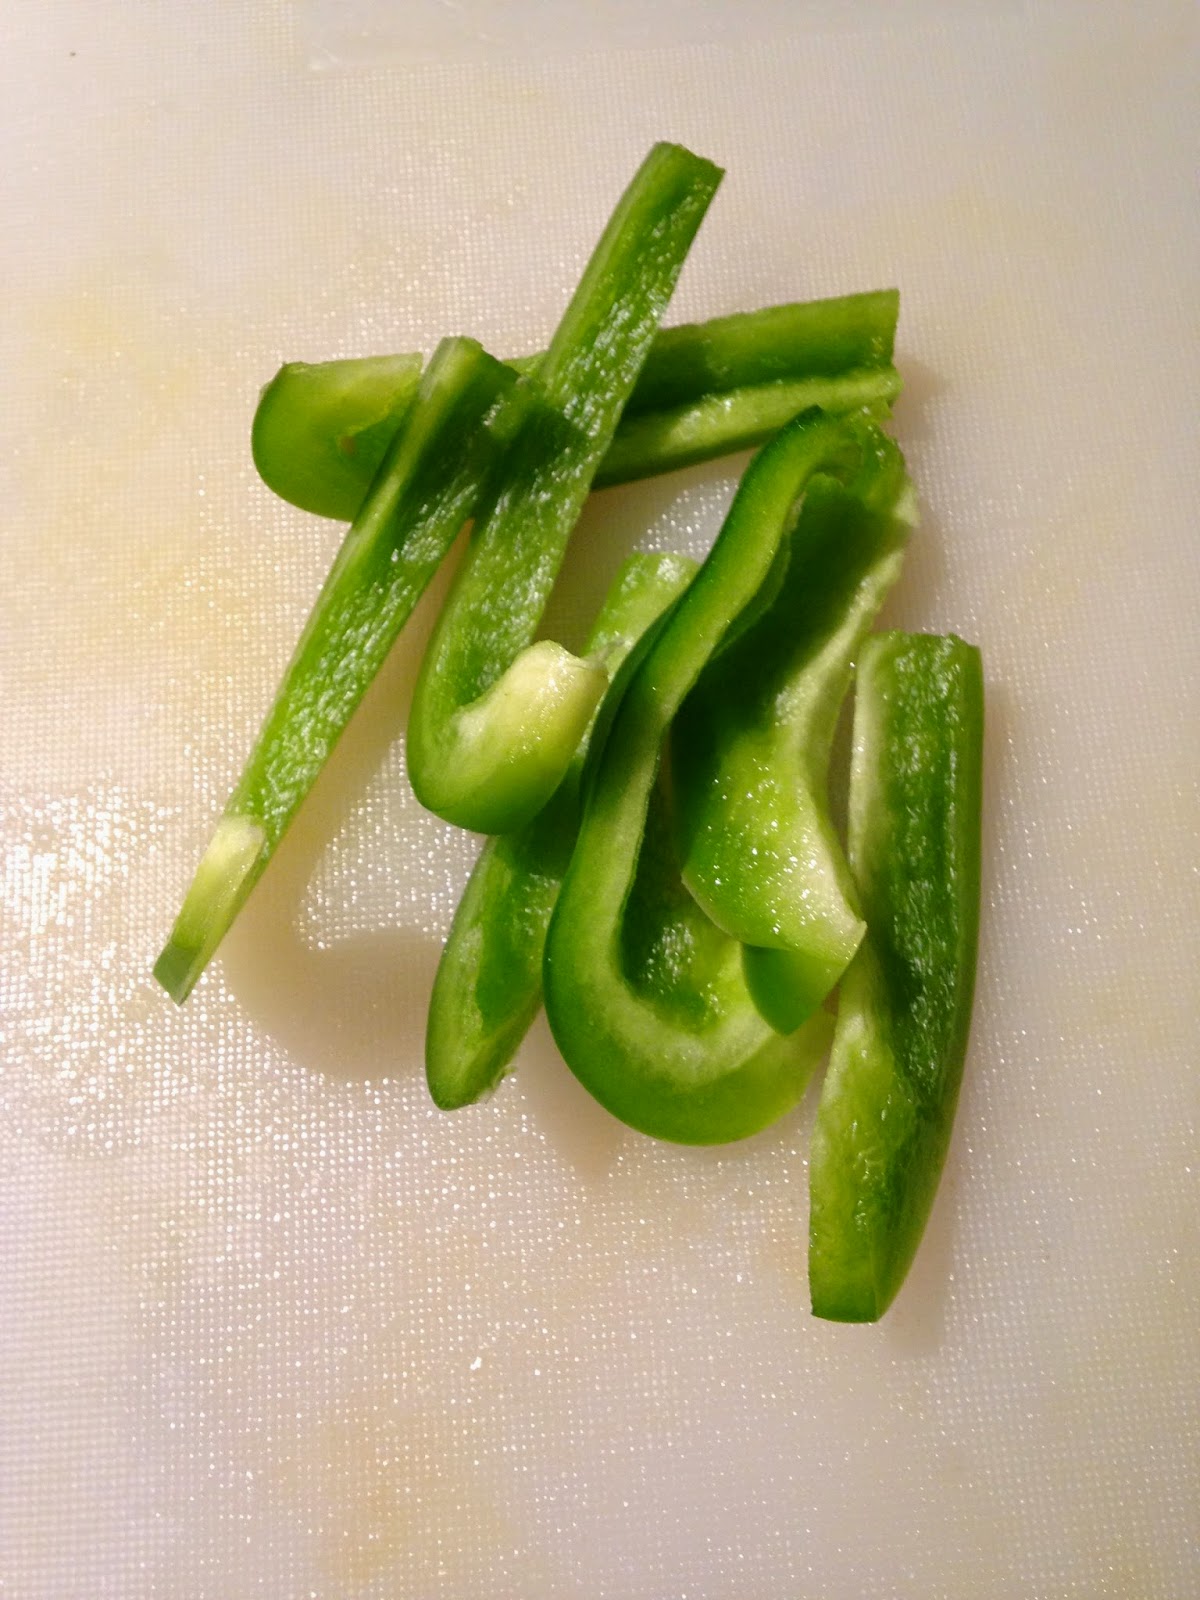
After your cauliflower has been riced, cut up your bell pepper, onion, and cilantro. You can cut these however you want for your burrito bowl.


Heat a large sauce pan over medium high heat and add your cauliflower to the pan. Cook, stirring occasionally, for about 5-6 minutes. Then add in the lime juice and cilantro.


Remove the cauliflower rice from the pan and then add in your peppers and onions and cook until they're a little bit charred, about 5 minutes. 


Finally, cut up your tomatoes and avocado.


 Divide up the cauliflower rice, peppers and onions, tomato, avocado, and beans between 6 bowls. Each bowl should get between 1 and 2 cups of cauliflower rice.


Serve some chips and some of my Homemade Salsa on the side! 


Happy Cooking!


Simple Salsa

Salsa is a great thing to have on hand. You can put it on a ton of different things: chips, cucumber, bell peppers, fish, eggs, the list goes on and on. Well here's a super easy recipe that you can use so you always have something yummy to put on top of your omelette. The best part is that its really cheap! 


Here's what you'll need:
  • 1 28oz Can Whole Tomatoes $1.39
  • 2 Jalapeños $0.17
  • 1/2 cup Cilantro $0.06
  • 1 tsp Cumin $0.20
  • 1/2 tsp Garlic Powder $0.08

Serving Size: ~1/2 cup
Total Servings: 7
Price Per Serving: $0.27
Nutrition (per serving):
      Calories: 28
      Carbs:  6g
      Fat:  0g
      Protein:  1g


First, roast your jalapeños in the oven. Set your oven to 375 and place your jalapeños in an oven safe dish. Then roast for 15 minutes, flip the peppers, and roast for another 15 minutes. You can skip this step if you want, but I like the flavor it gives the salsa.


Next, add all of the ingredients to a blender or food processor and blend until you get the consistency you want. And thats it! Super simple, and delicious. 


Happy Cooking!


December 1, 2014

Green Juice +

Thanksgiving has come and gone and it's likely that you're still recovering from your post-thanksgiving food coma. After the holidays is the perfect time for a dietary reboot, and for me that means juicing! Many of you have probably seen or at least heard about the documentary "Fat, Sick, and Nearly Dead" and if you haven't, its on Netflix! Basically this guy travels the country while vowing to only drink fresh fruit and vegetable juice for 60 days, its pretty cool. While I would never go that long on juice alone, I sometimes use it as a meal replacement for my lunches for a week, or juice for a healthy snack. So for those of you that have a juicer, I thought I would share some of my favorite recipes!

Because produce and prices differs so greatly depending on the season, your location, and the store you buy from, Ive decided to exclude price and nutritional information for this post. But.. its fruits and vegetables, so you really don't have to worry too much here.

For each recipe, wash all of your produce! then cut your fruits and vegetables into smaller pieces that will fit in the juicer. Remove any parts that shouldn't go through the juicer (like apple seeds and stems), and peel any fruit that needs peeling -- most citrus fruits. If you don't know how to juice something, just google it! there are tons of online resources.


1. Green Juice
  • 2 Apples
  • 1 Cucumber
  • 1 1-inch piece of Ginger
  • 1/2 Lemon
  • 1/4 bunch Kale (about 3 leaves)
  • 1/4 bunch Romaine Lettuce (about 4 leaves)
-I used Red Russian kale, but you can use any kind you want!


2. Beet Juice
  • 1 Beet (with stem/leaves)
  • 2 Apples
  • 7 Carrots
  • 1 1-inch piece of Ginger
  • 1/2 Lemon


3. Spiced Apple Juice

-This juice is more of a fun snack, since its all fruit, and fruit has a lot of natural sugars. I try to keep the juice-meals mostly vegetables. 
  • 4 Apples
  • 1 Orange
  • One 1/2-inch piece of Ginger
  • 1/2 tsp Cinnamon
**don't put the cinnamon through the juicer. Just stir it in at the end.


Here's some bonus pictures so you can see how I set everything up! Its really convenient to have all of your fruit, pre-washed, in a large bowl that you can just grab from!


Also, if you put a grocery bag in the bin where your pulp goes, it will be easy to just grab and throw away!


A good knife is really going to make your life easier, thankfully I got some new ones as an early birthday present from aunt, uncle, and cousin and I love them!


 Happy Juicing!